
How to Set Up Membership Plans and Recurring Payments
Overview
Membership Plans let you define the tiers families choose from when joining your co-op. Each plan can have a name, a description, feature bullets, and an optional member limit. Once you save a plan it becomes active immediately and appears on your co-op's public membership page.
Separately, the Membership Payment page controls whether — and how much — your co-op charges at signup. A plan price and the membership payment settings work together: see Step 1 before you create your first plan.
Before you start: Your Stripe account must be connected under Payouts & Billing before you can collect any payment — a flat membership fee, a paid plan price, or both. Free plans with no fee do not require Stripe. See Setting Up Stripe Payments for setup instructions.
Step 1: Set Up How You Collect Payment
- Sign in to your co-op admin panel.
- In the left sidebar, click Membership Payment (listed just below Membership Plans).

Configure three settings:
| Setting | What it does |
|---|---|
| Collect membership payment at signup | On (default): a family is sent to checkout before their application completes. Off: applications are accepted without payment. |
| Membership dues | A flat, one-time fee (in dollars) charged when a family joins without picking a priced plan. If a plan has its own price, the plan's price is charged instead of this fee. |
| Finish the application automatically when a family pays | Off (default): a paid application still waits in the Paid — Pending queue for manual approval, even though payment already cleared. On: a paid application is approved the instant payment clears. |
If you leave the membership dues field blank and every plan is either free or has no price of its own, the page shows a warning — "No family can be charged yet" — because nothing is configured to charge. Set a membership dues amount here, a priced plan in Step 4, or both before you publish your enrollment page.
Step 2: Open Membership Plans
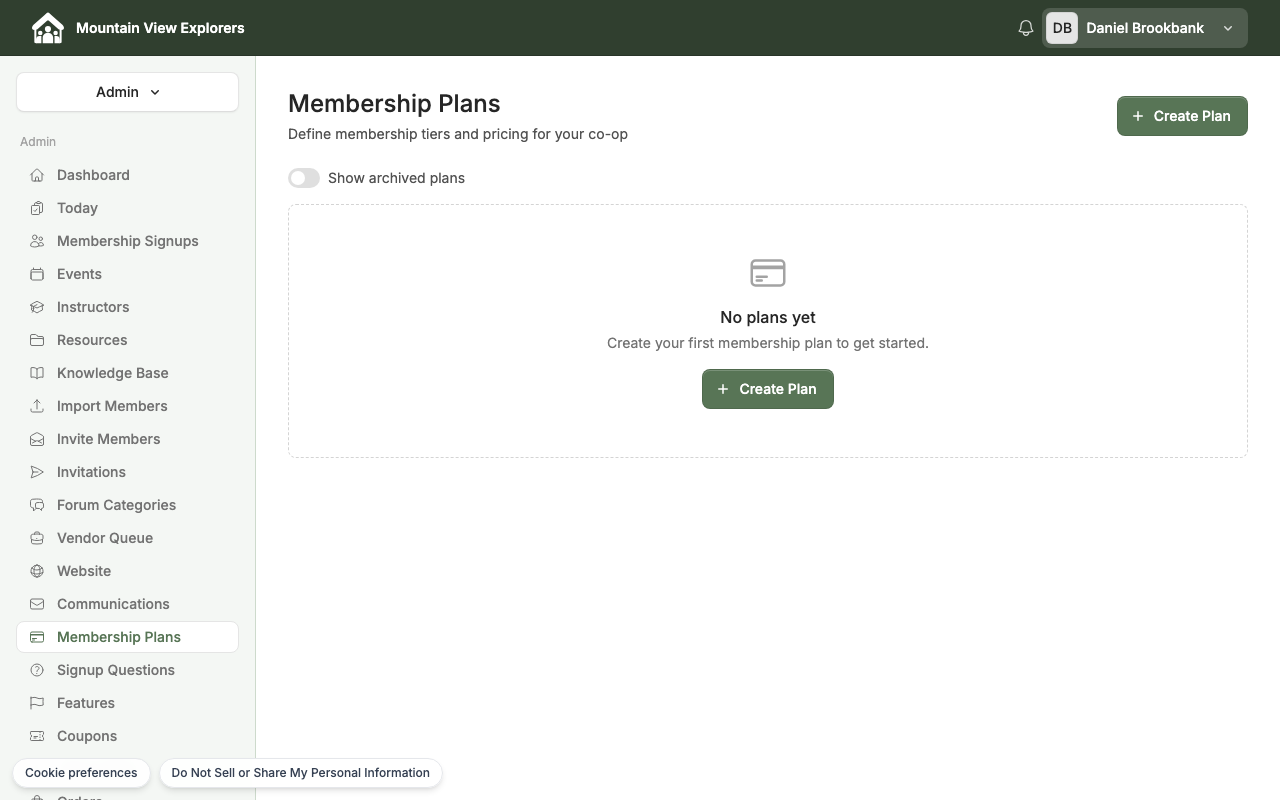
The page shows all your active plans. If you have not created any yet, it shows "No plans yet" with a Create Plan button.
Step 3: Create a Plan
- Click + Create Plan (top-right) or the Create Plan button in the empty-state card.
The Create Plan modal opens.
- Fill in the plan details:
| Field | What to enter |
|---|---|
| Plan Name | Short, recognizable name (e.g., "Basic", "Family", "Premium") |
| Description (optional) | One or two sentences describing what the plan includes |
| Features (optional) | Bullet points shown to families on the enrollment page — click + Add Feature to add more |
| Member Limit (optional) | Maximum number of members allowed on this plan. Leave blank for unlimited. |
Step 4: Set Pricing and Billing Intervals
Free plan
Toggle on Free Tier if families join at no cost through this plan. No Stripe connection is required for free plans. Skip to Step 5.
If you want a free-tier plan but still collect a flat charge, leave the plan's price unset and use the Membership dues fee from Step 1 instead — that fee applies whenever a family joins without a priced plan.
Paid plan
Leave Free Tier off. Under Billing Periods, enable one or more intervals:
- Monthly — families are billed every month
- Semester (6 months) — families are billed twice a year
- Annual — families are billed once a year
For each enabled interval, enter the price in dollars.
Processing-Fee Handling — choose how Stripe's processing fee is covered:
| Option | What happens |
|---|---|
| Absorb (default) | Your co-op pays the processing fee. Families are charged exactly the listed price. |
| Gross-up | The processing fee is added into the displayed price. Families see one all-in amount. |
You can mix intervals and fee modes — for example, offer both Monthly and Annual with different fee settings on each.
Coming soon: Checkout for a plan priced with a Monthly, Semester, or Annual billing interval isn't available yet — a family who selects one of these plans today hits a payment error instead of completing checkout. You can configure billing intervals now so they're ready when this ships, but until then, collect dues through the flat Membership dues fee (Step 1) paired with a Free Tier plan.
Step 5: Save the Plan
Click Create Plan. The plan saves and is immediately Active — no separate publish step is needed.
To edit a plan later, return to Membership Plans and click Edit on any plan card.
Step 6: How Families See and Enroll
Once at least one plan is active, families can visit your co-op's public membership page at:
https://yourco-op.cooplyhq.com/membership/plans
The page lists all active plans. If you offer multiple billing intervals (e.g., Monthly and Annual), a toggle at the top lets families switch between intervals to compare prices.
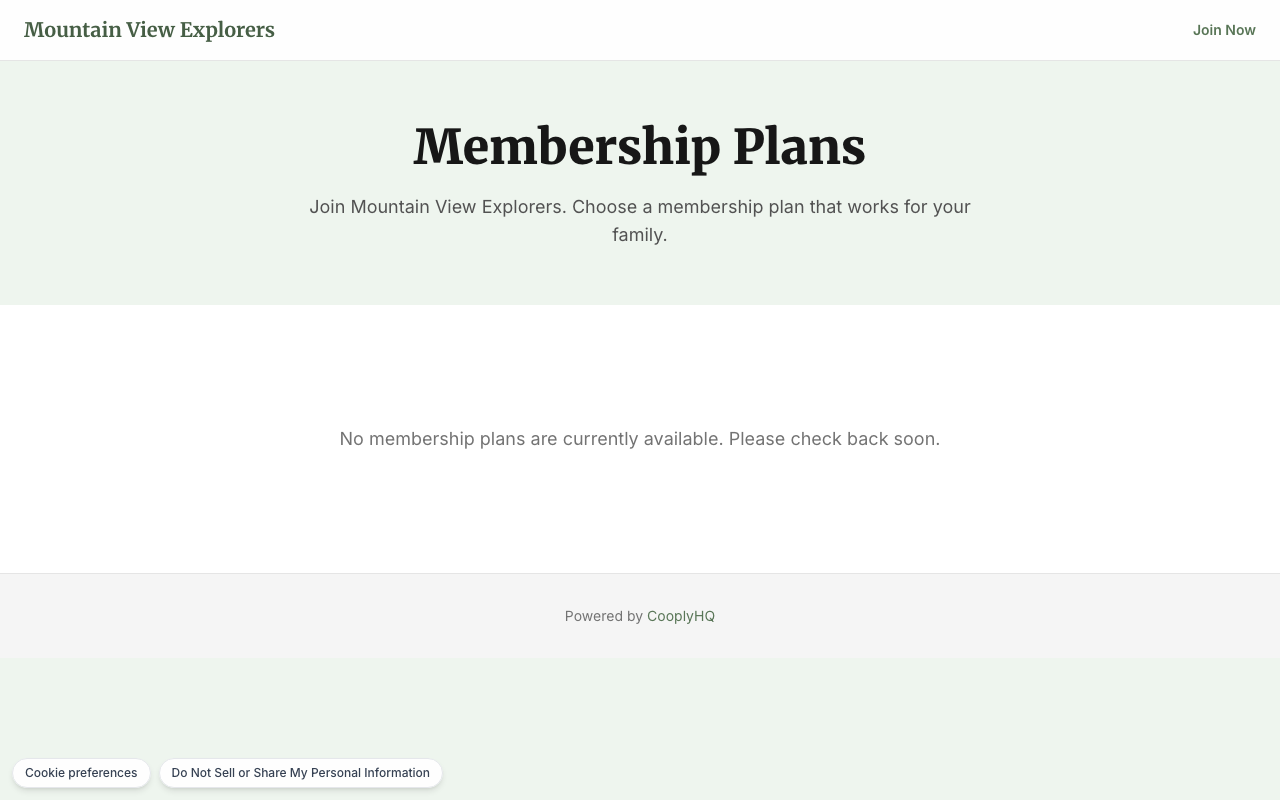
Families click Join Now to begin a three-step application:
- Contact Info — primary contact name, email, and phone number
- Household — children and household details
- Membership — plan selection, then payment (if anything is owed)
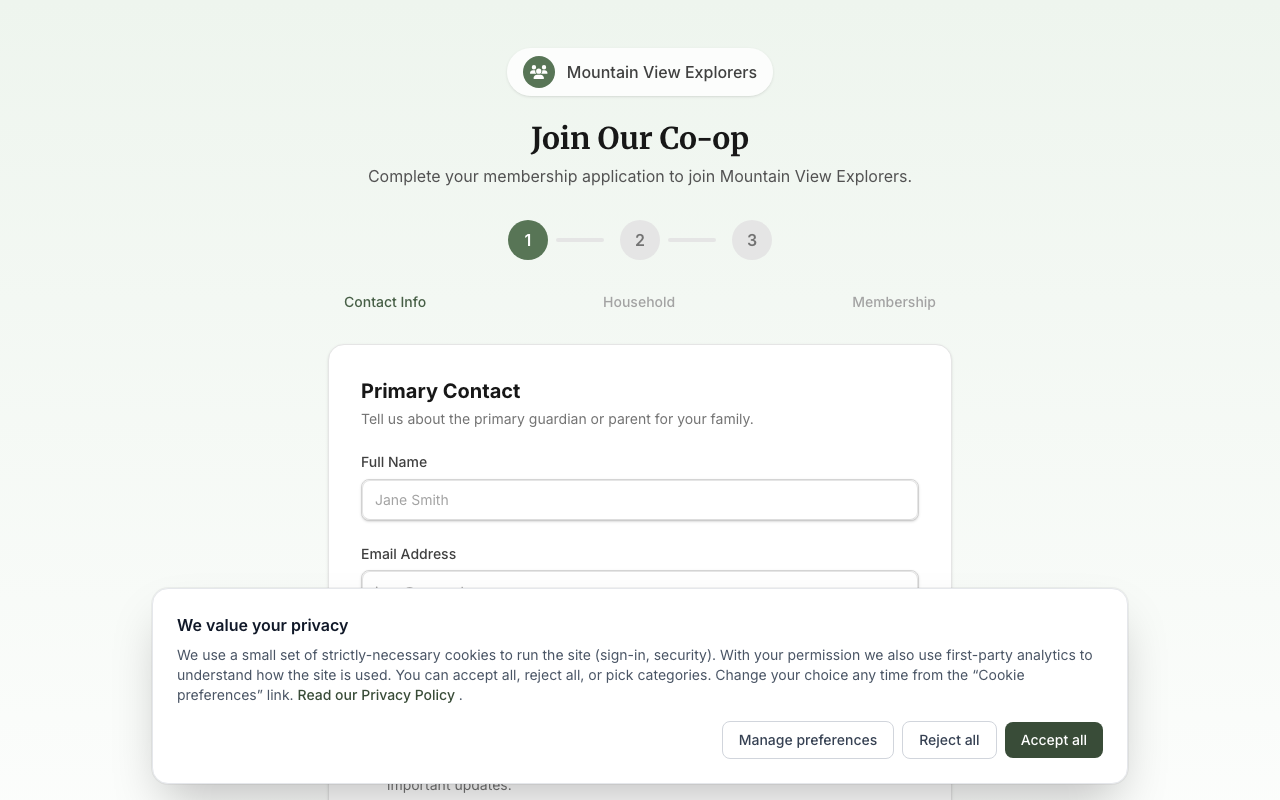
After completing the form, families are taken to Stripe Checkout to pay any membership dues or plan price that applies, or directly to a confirmation page if nothing is owed. As noted in Step 4, checkout for a billing-interval-priced plan isn't available yet — keep your enrollment page limited to Free Tier plans plus the flat membership dues fee until that ships.
Step 7: View Membership Signups
To see who has applied or enrolled:

The Membership Signups page shows all applications with status tabs:
| Tab | Meaning |
|---|---|
| All | Every application, regardless of status |
| Completed | Enrollment is finished and payment (if required) has been received |
| Submitted | Family submitted the application. This tab is based on status, not payment — a free or already-settled signup can land here too. |
| Paid — Pending | Payment received; awaiting admin approval (when "Finish the application automatically when a family pays" is off in Step 1) |
| On Hold | Admin has placed the application on hold for review |
| Rejected | Application was not approved |
| Draft | Family started but did not submit the application |
| Voided | An admin voided the application; it's no longer active |
| Abandoned | Family started and did not complete within the session |
Click any row to view the full application details and take action.
What's Next
- Signup Questions — Add custom questions to the enrollment form: in the sidebar go to Signup Questions.
- Coupons — Create discount codes for your plans: in the sidebar go to Coupons.
- Payouts & Billing — View Stripe payouts and check your balance: in the sidebar go to Payouts & Billing.