How to Invite Families and Manage Your Member Directory
Overview
DraftOnce contentyour comingco-op soon.site is set up, you are ready to bring families on board. This guide covers:
Sending a membership invitation to a family
What the invited family sees when they follow the link
Tracking invitation status
Viewing and searching the member directory
Opening a member record and updating a member's role
Step 1: Send an invitation
Sign in to your admin panel.
In the left sidebar, click Invite Members.
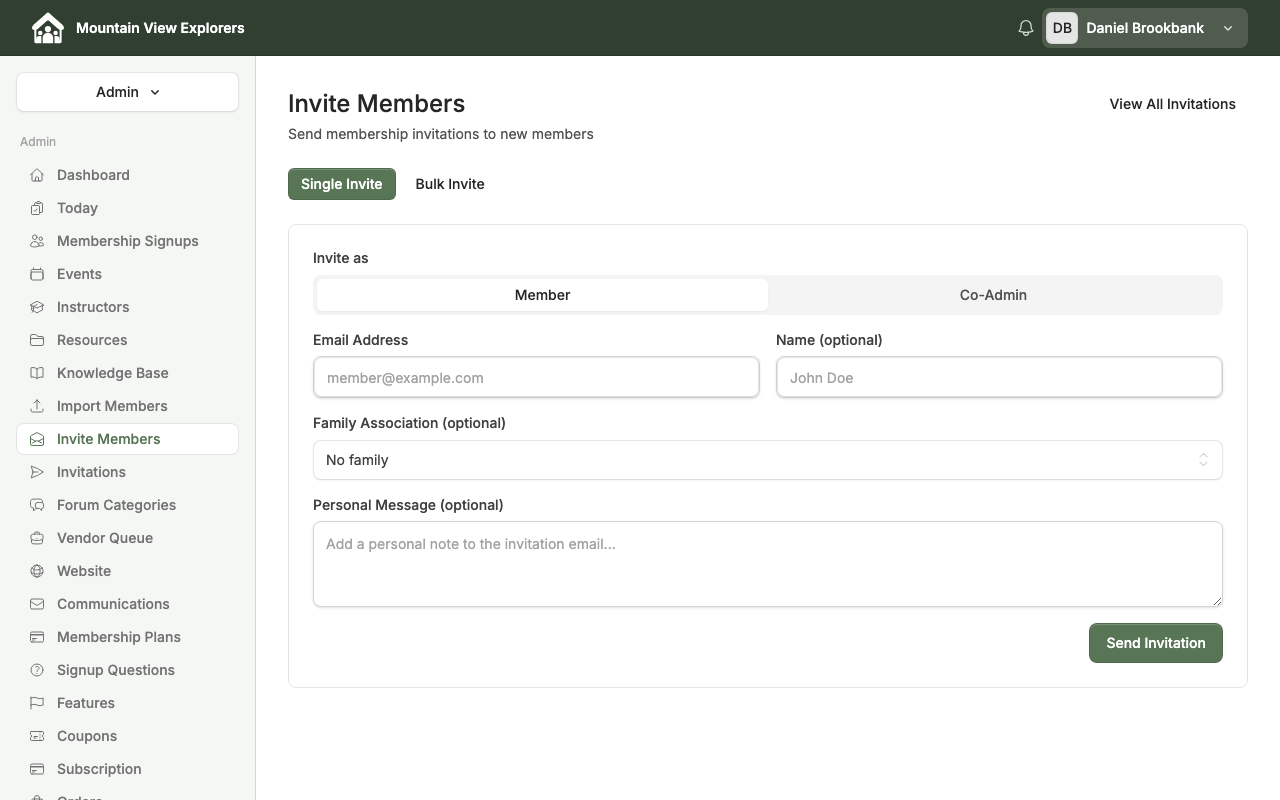
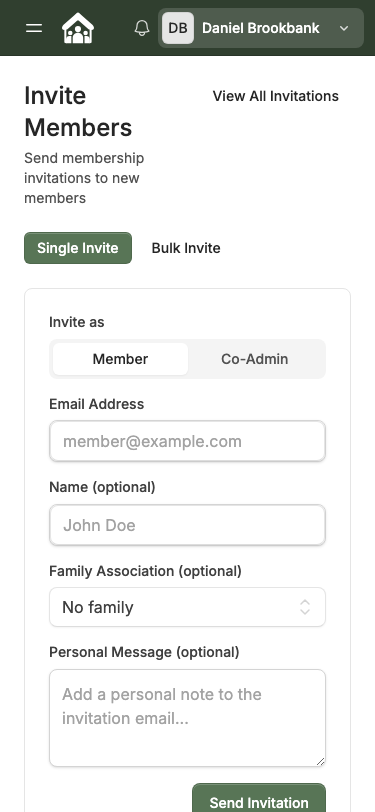
The Invite Members page opens with the Single Invite tab selected.
Under Invite as, choose the role you are assigning:
Option
Who it is for
Member
A family joining to participate in co-op activities
Co-Admin
A trusted parent you want to help manage the co-op
Enter the family's Email Address (required).
Optionally, add the family's Name and select their Family Association from the dropdown if you have families already set up.
Optionally, type a short note in the Personal Message field — this appears in the invitation email.
Click Send Invitation.
CooplyHQ sends the family an email with a link to complete their membership application.
Tip: To invite several families at once, click the Bulk Invite tab and follow the on-screen instructions.
Step 2: What the family sees
When a family receives the invitation email and clicks the link, they arrive at your co-op's membership application.
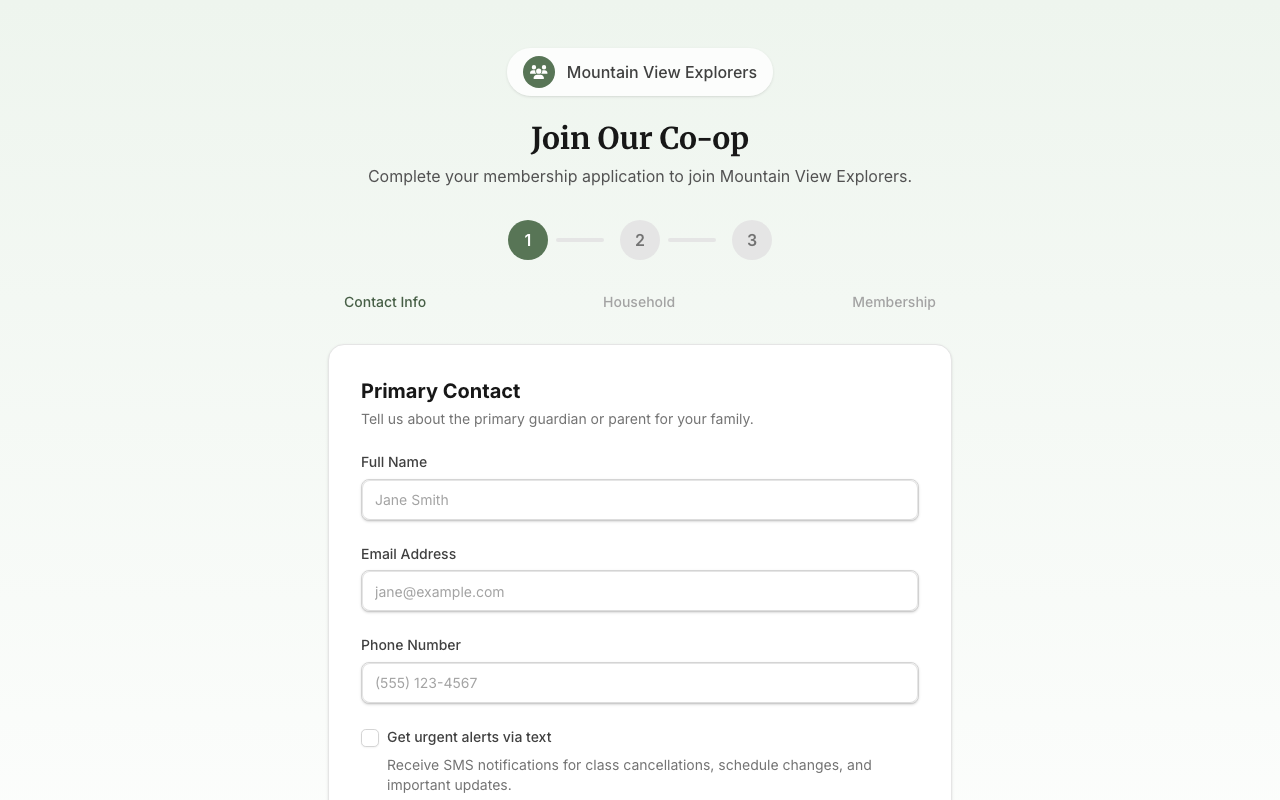
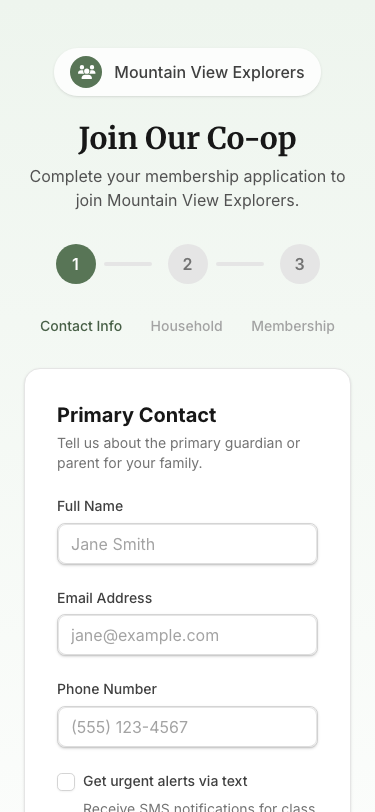
The application walks the family through three steps:
Contact Info — primary guardian's name, email address, and phone number
Household — adding children and other household members
Membership — selecting a membership plan and completing payment (if applicable)
Once submitted, the family appears in your Membership Signups queue for approval.
Step 3: Track invitations
To see the status of every invitation you have sent:
In the left sidebar, click Invitations.
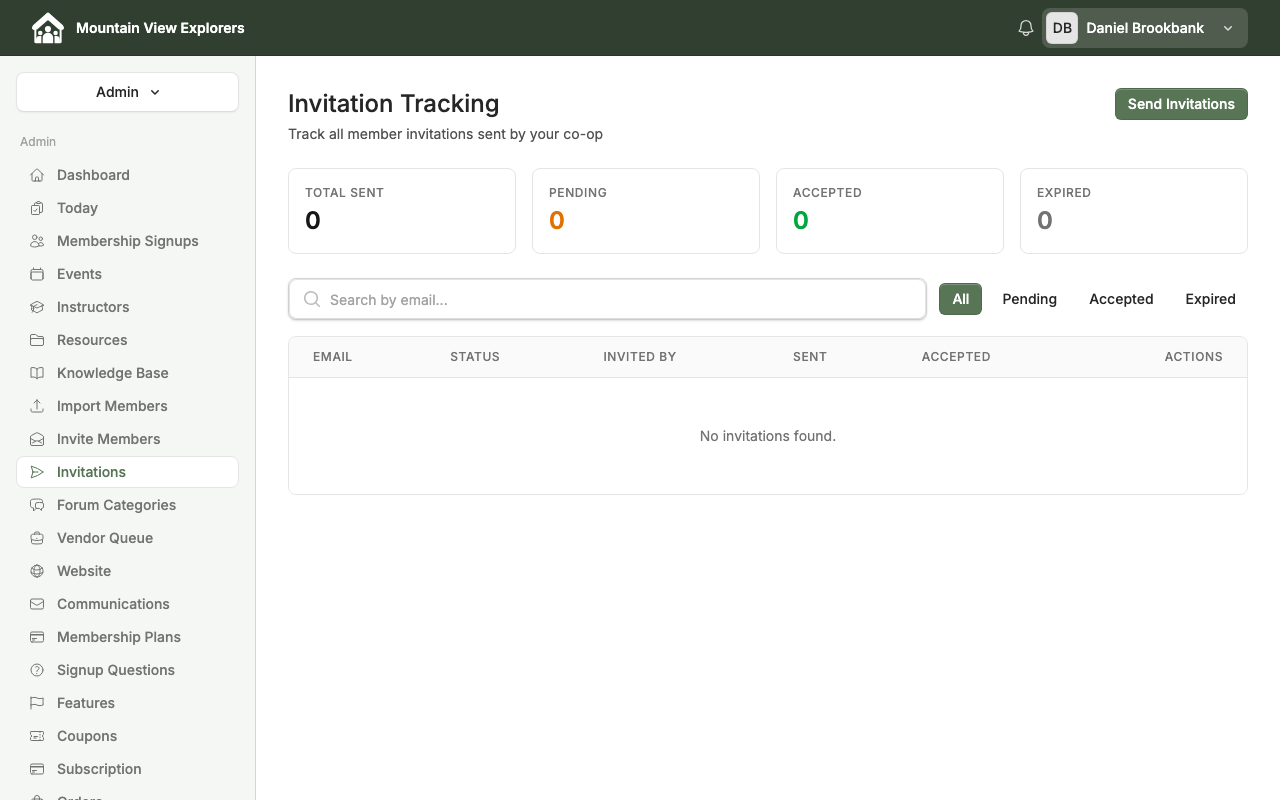
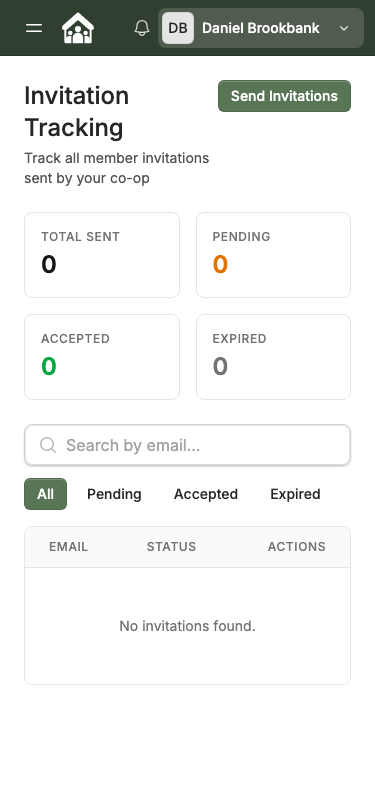
The Invitation Tracking page shows summary counts at the top:
Counter
Meaning
Total Sent
All invitations ever sent
Pending
Sent but not yet accepted
Accepted
Family completed their application
Expired
Invitation link is no longer valid
Use the Search by email box to find a specific invitation, or use the All / Pending / Accepted / Expired filter tabs to narrow the list.
From the Actions column you can resend or cancel individual invitations.
Step 4: View the member directory
The member directory shows every person who has joined your co-op.
Go to your admin Dashboard.
In the dashboard widgets, click Active Families to open the member directory.
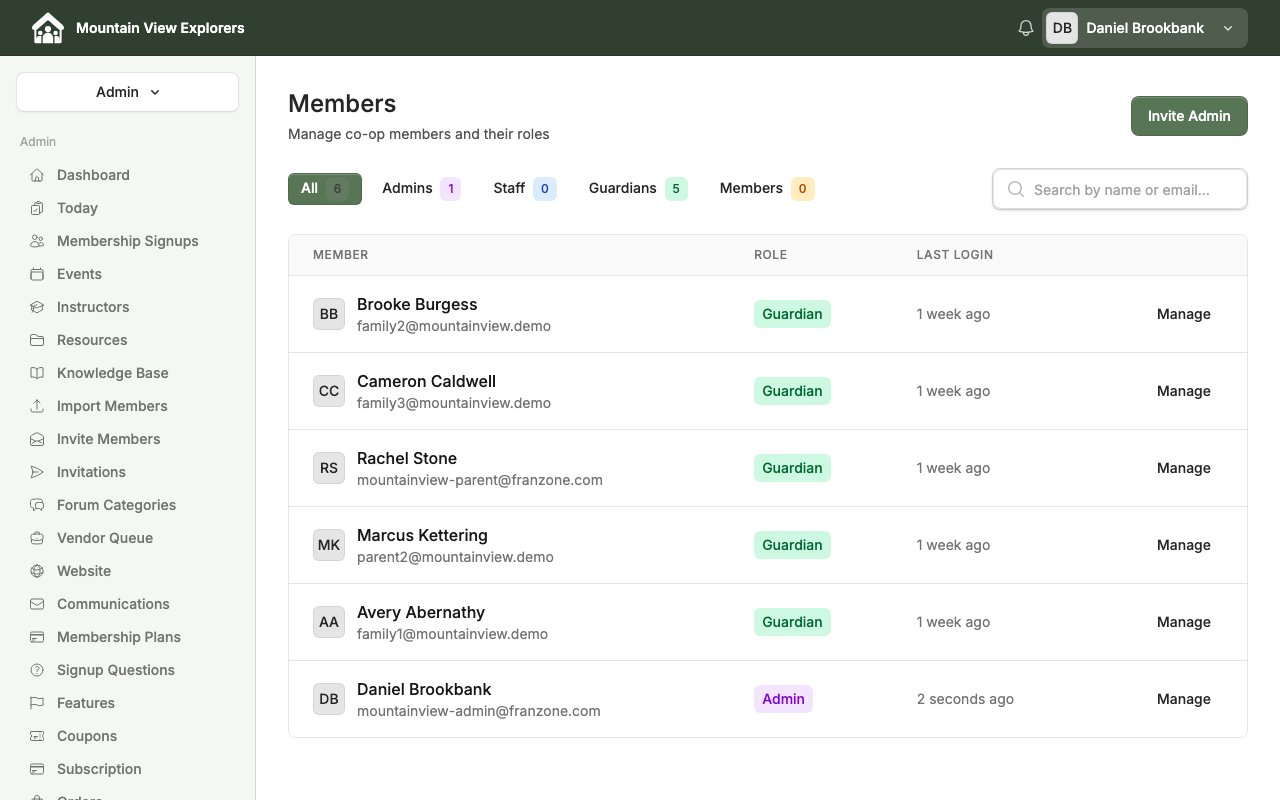
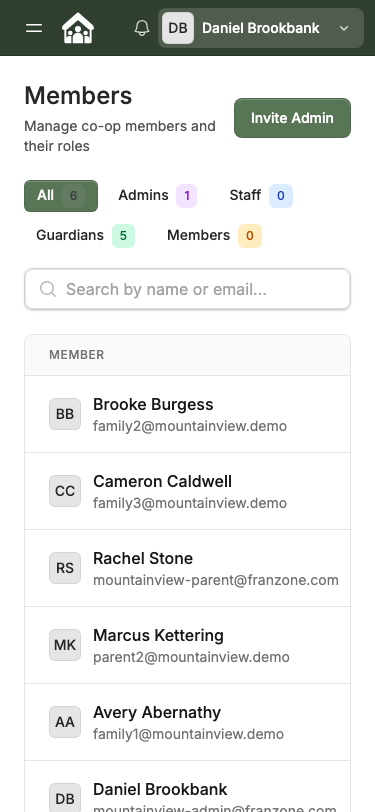
The Members page shows a table with each member's name, email, role, and the date they last logged in.
Filter by role
Use the filter buttons at the top of the list to show only members with a specific role:
Filter
Who it shows
All
Every member, regardless of role
Admins
Co-op administrators
Staff
Staff members who help manage events and registrations
Guardians
Parents and guardians who have completed membership
Members
Members with basic access
Search by name or email
Type in the Search by name or email box to filter the list as you type. This is useful when your co-op has many members and you are looking for a specific person.
Step 5: Open a member record
In the member directory, find the person you want to view.
Click Manage on their row.
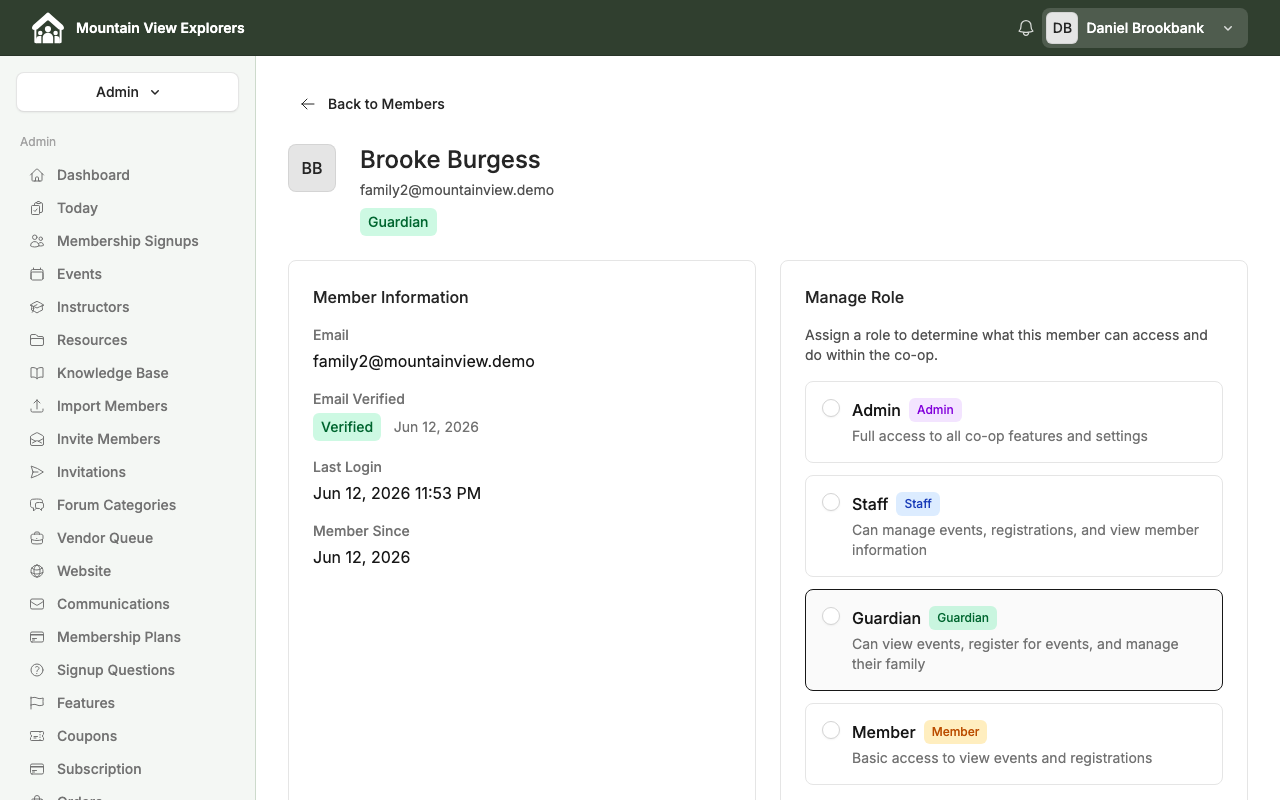
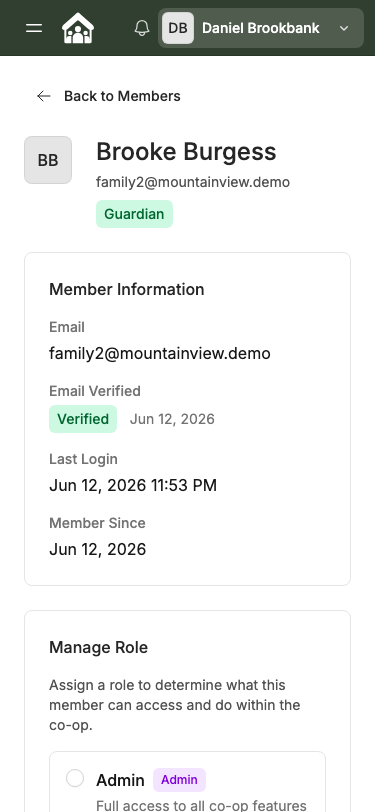
The member detail page shows two sections:
Member Information
Field
What it shows
Email
The member's login email address
Email Verified
Whether the email has been verified, and when
Last Login
The date and time of their most recent sign-in
Member Since
The date their account was created
Manage Role
The current role is highlighted. See Step 6 to change it.
Step 6: Change a member's role
On the member detail page, find the Manage Role section.
Select the role you want to assign:
Role
Access level
Admin
Full access to all co-op features and settings
Staff
Can manage events, registrations, and view member information
Guardian
Can view events, register for events, and manage their family
Member
Basic access to view events and registrations
Click Update Role.
A confirmation message appears when the role is saved.
Next steps
To approve a family's membership application after they sign up, see How to Review and Approve Membership Signups.
To create an event for your members to register for, see How to Create an Event and Enable Member Registration.