
How to Manage Your Co-op Calendar
Overview
DraftCooplyHQ gives your co-op two calendar tools that work together:
This guide covers both.
Step 1: Open the Events list in your admin panel
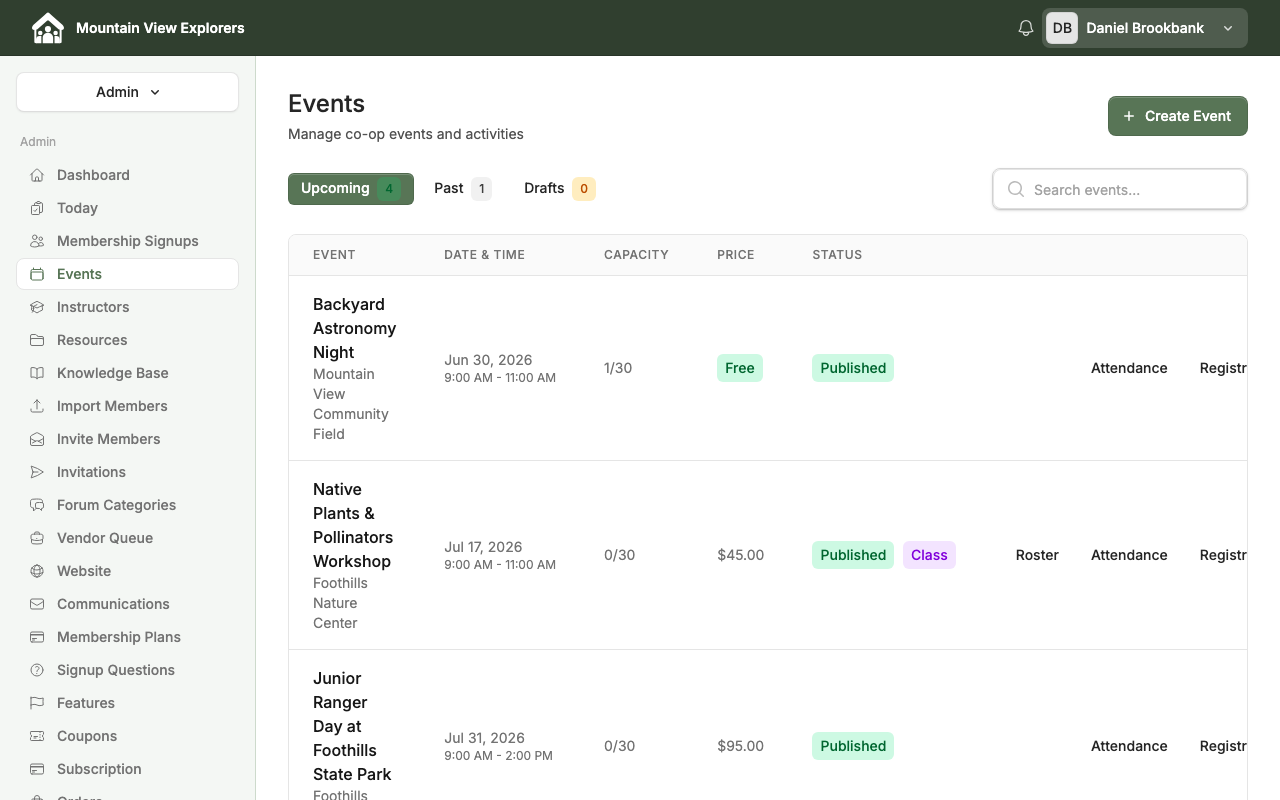
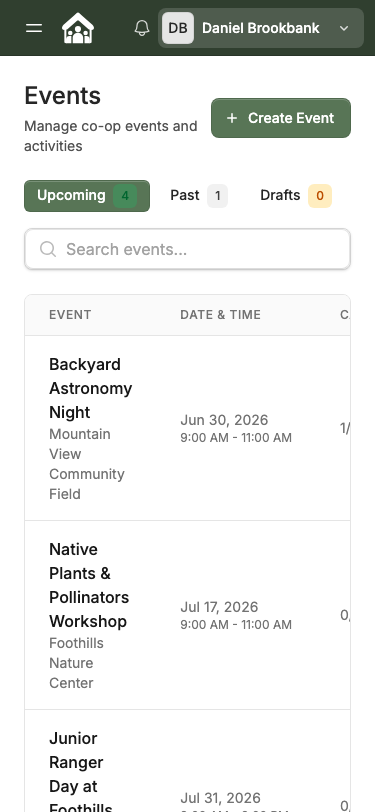
The Events page is your central place to manage your co-op's schedule. Every event you publish here appears on the public Event Calendar.
Step 2: Understand what is on your calendar
The Events list organizes all your events by status using three tabs.
Each event row shows:
Use the Search events box to filter by keyword when your list grows long.
Step 3: Add a new event to your calendar
Note: Events are added and edited from the admin Events page. The public calendar grid is view-only — it cannot be used to create or edit events.
For full event creation instructions, see How to Create an Event and Enable Member Registration.
Step 4: View the public Event Calendar — what families see
Members and families browse your schedule at:
yoursite.cooplyhq.com/calendar
To view it yourself, click your co-op's name in the top-left corner of the admin panel to open your public site, then navigate to Schedule & Events in the top navigation.
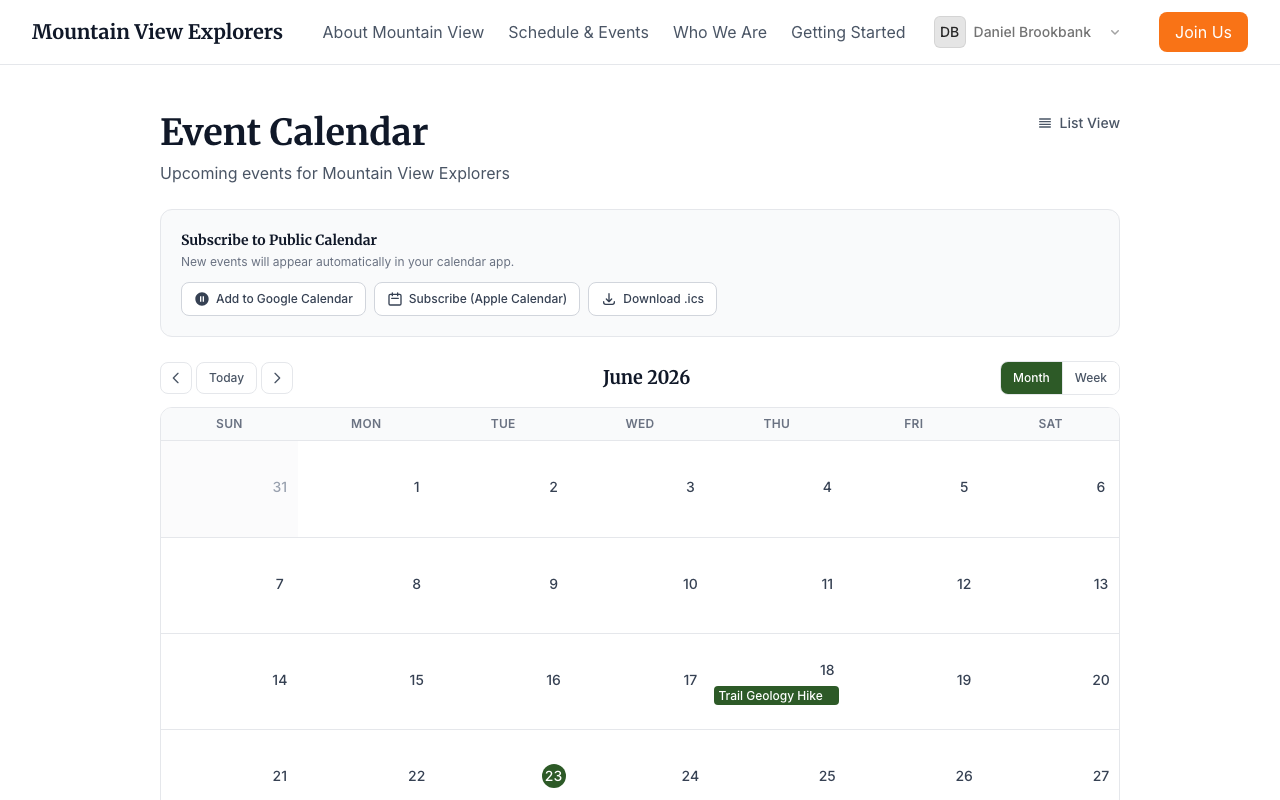
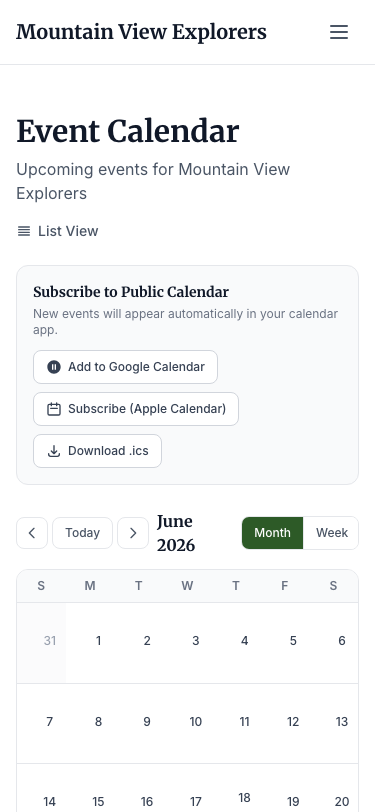
The public Event Calendar shows:
Subscribe to the calendar
At the top of the calendar page, families see a Subscribe to Public Calendar section.
Sharing this subscription option with families means they always see your latest events without checking your site manually.
Step 5: Browse upcoming events in list format
Families can also view your events as a searchable list at:
yoursite.cooplyhq.com/events
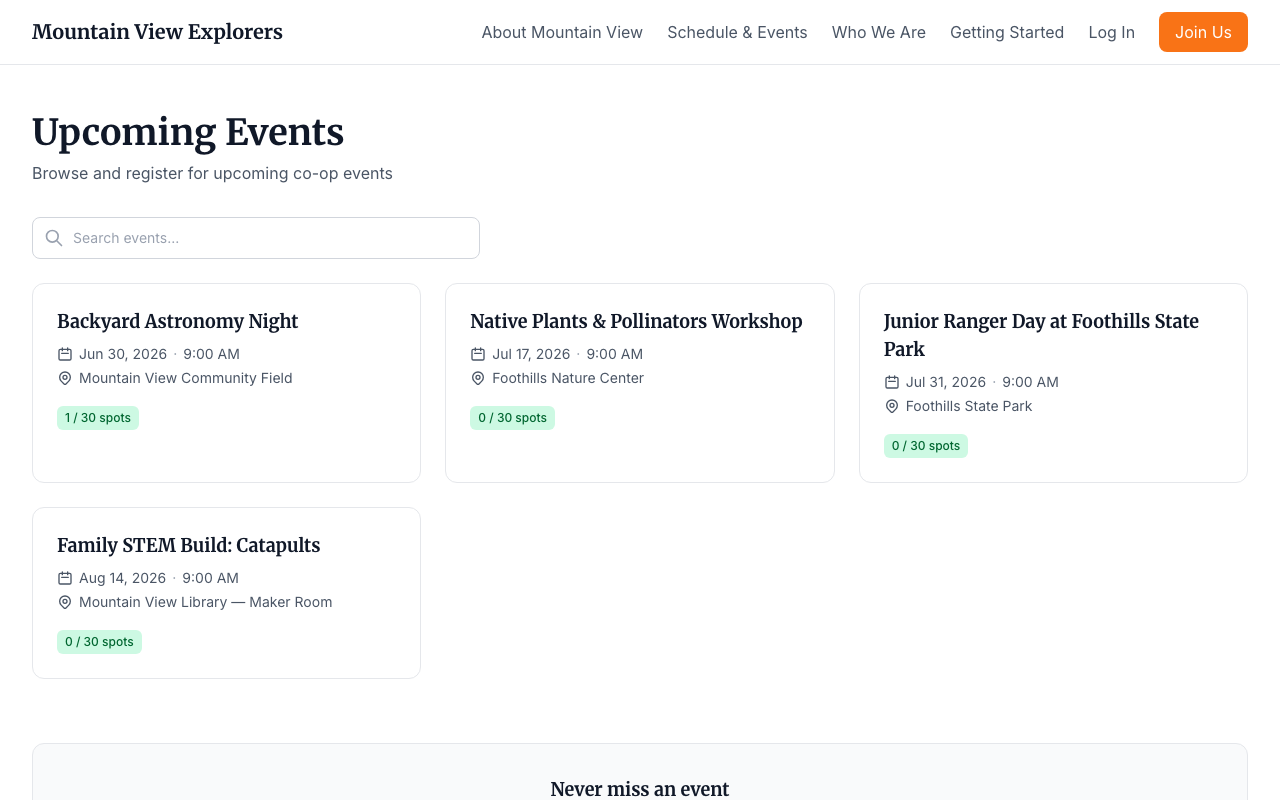
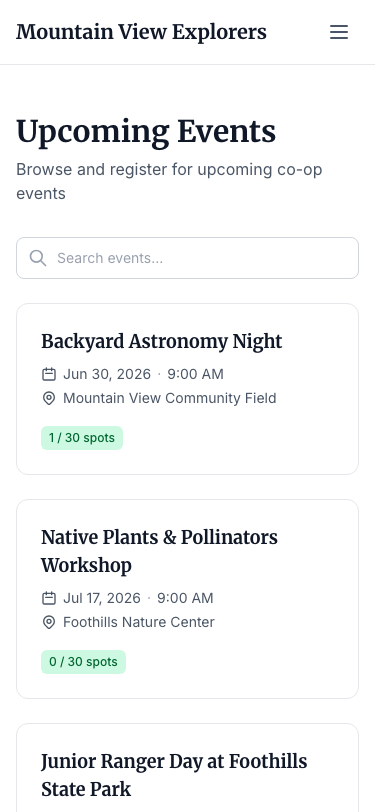
Each event card shows:
Members can use the Search events box to filter by keyword. To register, they click the event card and follow the steps on the event detail page.