How to Create an Event and Enable Member Registration
Overview
DraftThis guide walks you through creating an event on CooplyHQ and opening it for member registration. After completing these steps, the event will appear on your co-op's events page and members can register directly from their dashboard.
Part 1: Create the Event
Step 1: Go to Events in your admin panel
Sign in to your co-op's CooplyHQ site.
In the left sidebar, click Events.
Desktop
Mobile


You'll see a list of all events you've created. New co-ops will see an empty state with a prompt to create your first event.
Step 2: Open the Create Event form
Click Create Event (top right of the Events page).
Desktop
Mobile


Step 3: Fill in the event title and description
In the Event Title field, type a clear, descriptive name (e.g. Fall Field Trip to the Natural History Museum).
In the Description field, add any details families should know — what to bring, where to meet, age suitability, etc.
Step 4: Set the date, time, and location
Click the Start Date & Time field and pick the event date and start time.
Optionally click End Date & Time and set when the event finishes.
In the Location field, enter the address or venue name (e.g. City Park Pavilion, 123 Main St).
Step 5: Set a capacity limit (optional)
In the Capacity field, enter the maximum number of registrations you'll accept.
Leave the field blank to allow unlimited registrations.
Registration closes automatically one day before the event start time. Capacity limits are enforced in real time — once the last spot is taken, the Register button disappears for new visitors.
Part 3: Set Event Pricing
Step 6: Set the price
In the Price field, enter the dollar amount per registration (e.g. 12.00).
Leave the field blank, or enter 0.00, if the event is free.
Fee handling — if you set a price, choose how processing fees are handled:
Option
What members see
Absorb (default)
Members pay exactly the listed price. Your co-op covers the processing fee.
Gross-up
The processing fee is built into one combined price. Members see a single total with no separate fee line.
Members receive a payment confirmation email automatically after a successful paid registration.
Part 4: Publish the Event
Step 7: Publish immediately or save as a draft
Toggle Publish immediately on to make the event visible to members as soon as you save.
Leave it off to save the event as a draft. You can publish it later from the event edit page.
Optional settings:
Allow guest registration — enables non-members to register without a CooplyHQ account.
Collect dietary/allergy information — adds a dietary preferences question to the registration flow.
Step 8: Save the event
Click Create Event.
You'll be returned to the Events list, and a confirmation banner will appear. The event is now live if you toggled Publish immediately on.
Desktop
Mobile


Part 5: Member Registration Experience
Step 9: Members find the event
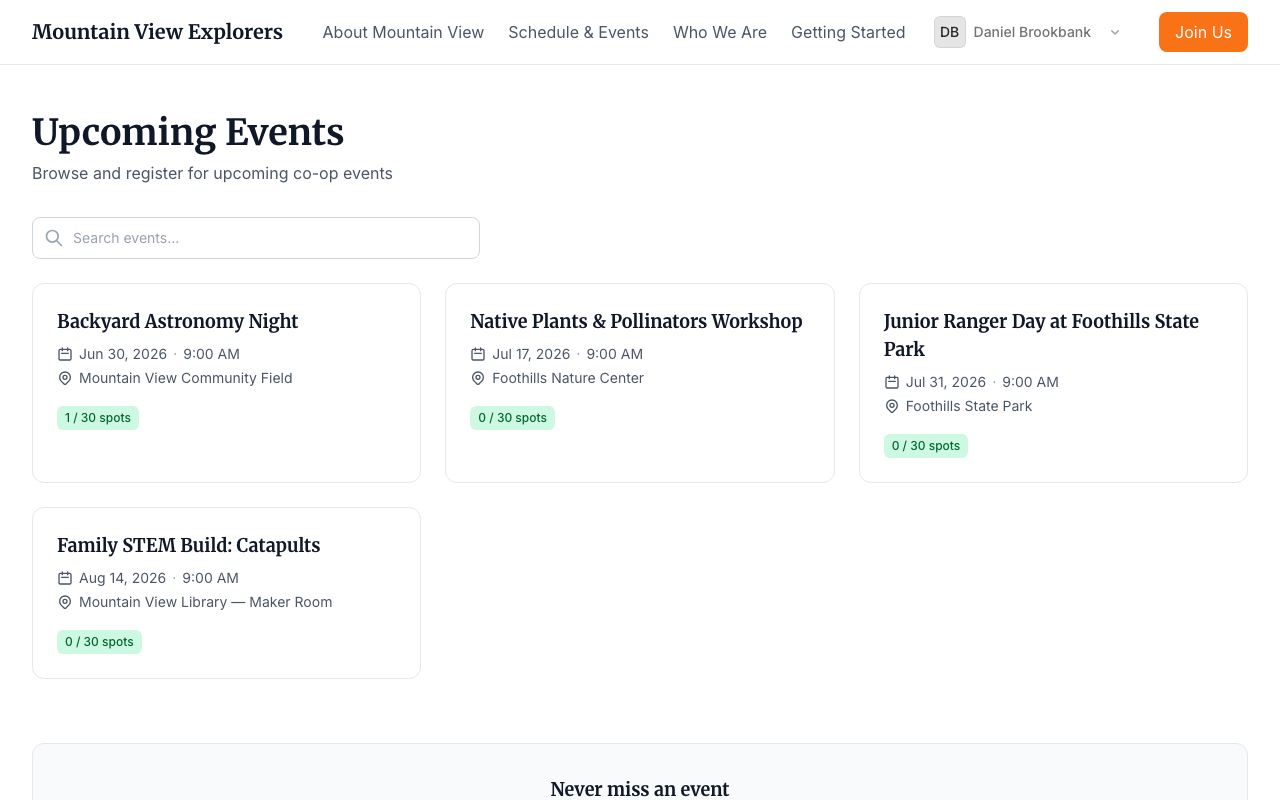
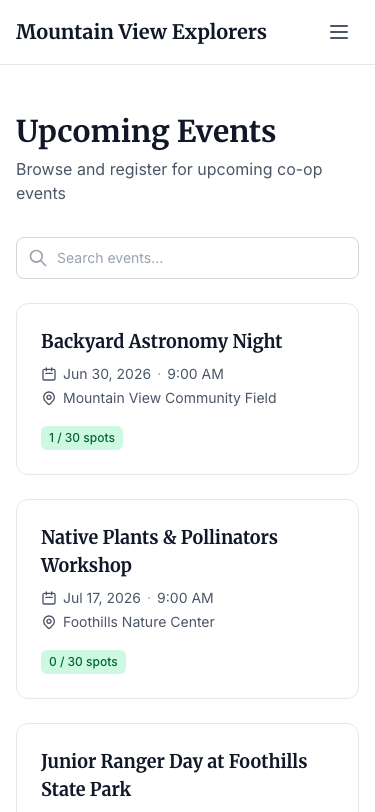
Once published, the event appears on your co-op's Events page, which members access from their member dashboard.
Desktop
Mobile
Step 10: Members register
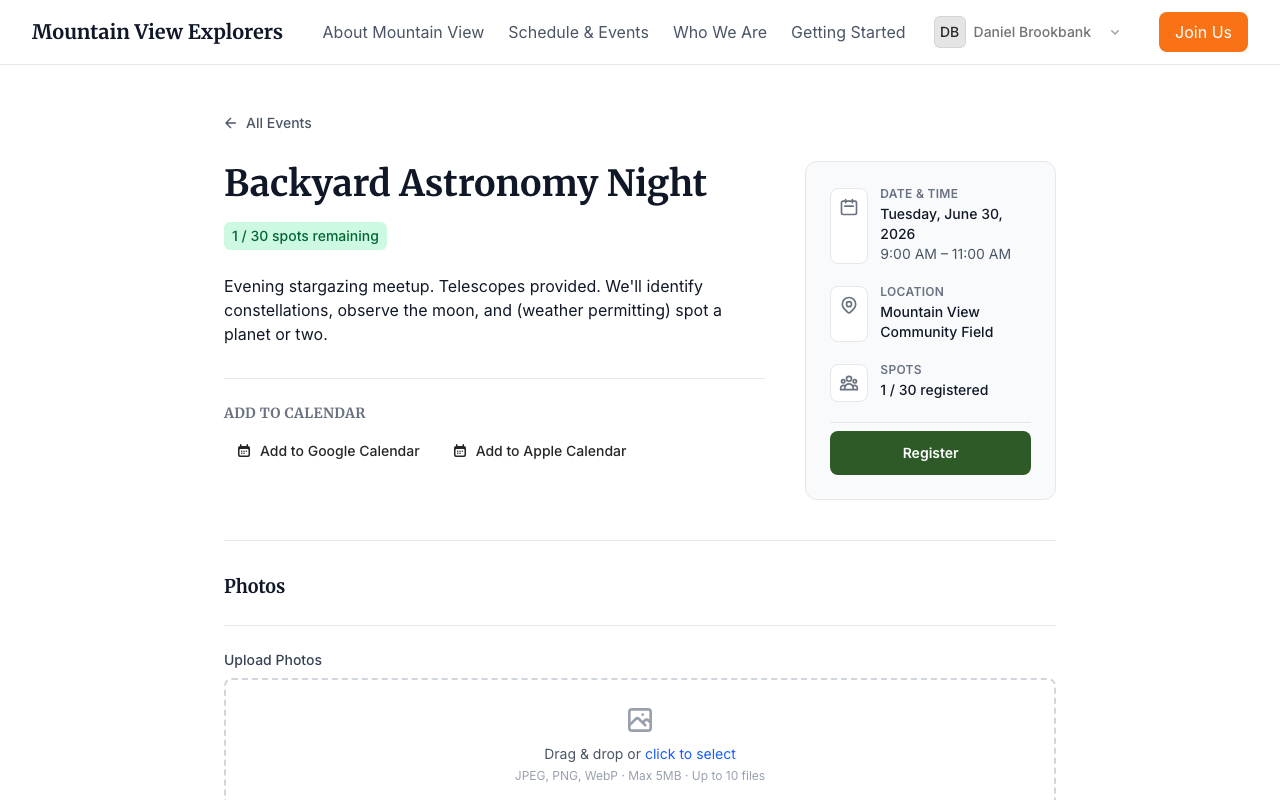
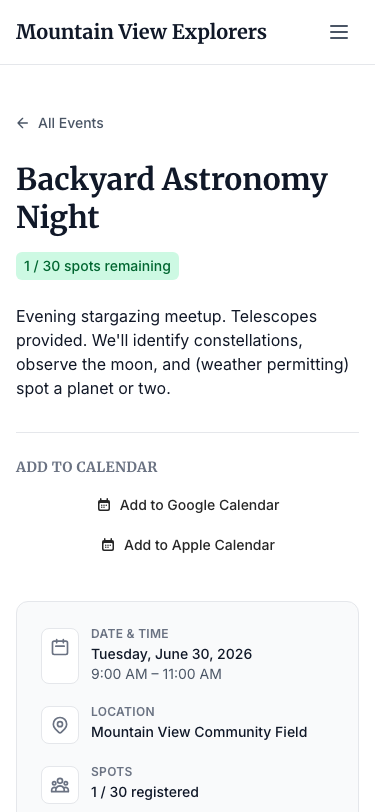
A member clicks the event name to open the event detail page.
They click Register.
For free events, registration is confirmed immediately and a confirmation email is sent.
For paid events, the member is taken to a secure checkout page. After payment, they receive a payment confirmation email.
Desktop
Mobile
Members who are not signed in, or whose membership is not active, see a prompt to join or renew before they can register.
Tracking Registrations
After publishing, you can view who has signed up at any time:
From the Events list, click the event name.
Click Registrations in the admin tabs.
Desktop
Mobile


The registrations page shows each attendee's name, registration date, and payment status.
What's next
Now that your first event is live, consider:
How to Set Up Membership Plans and Recurring Payments — make sure families are set up with an active plan before your event date
Adding a recurring event series using the Recurring event toggle on the create form