
How to Configure Your Co-op Settings
Overview
Before inviting families to your co-op, take a few minutes to configure your co-op's identity. CooplyHQ gives you two places to do this:
- Co-op Profile (in the setup wizard on your dashboard) — set your co-op's name and tagline
- Website > Site Settings — configure your logo, contact email, header display, and signup options
This guide walks through both.
Step 1: Set your co-op name and tagline
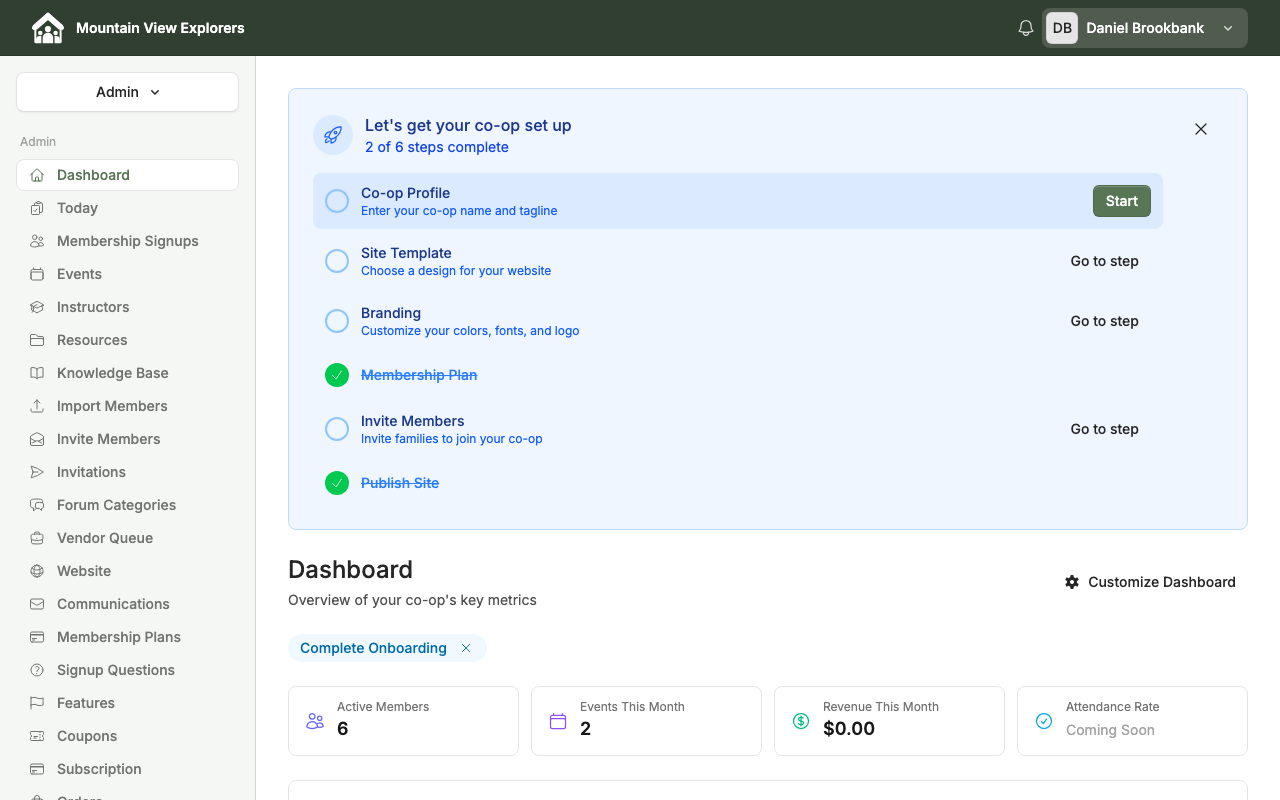
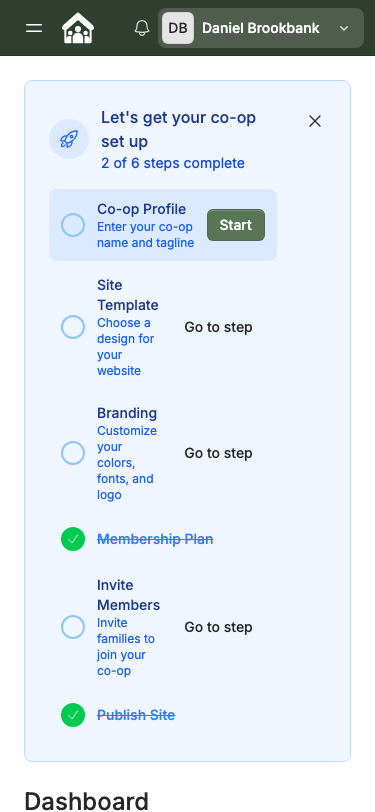
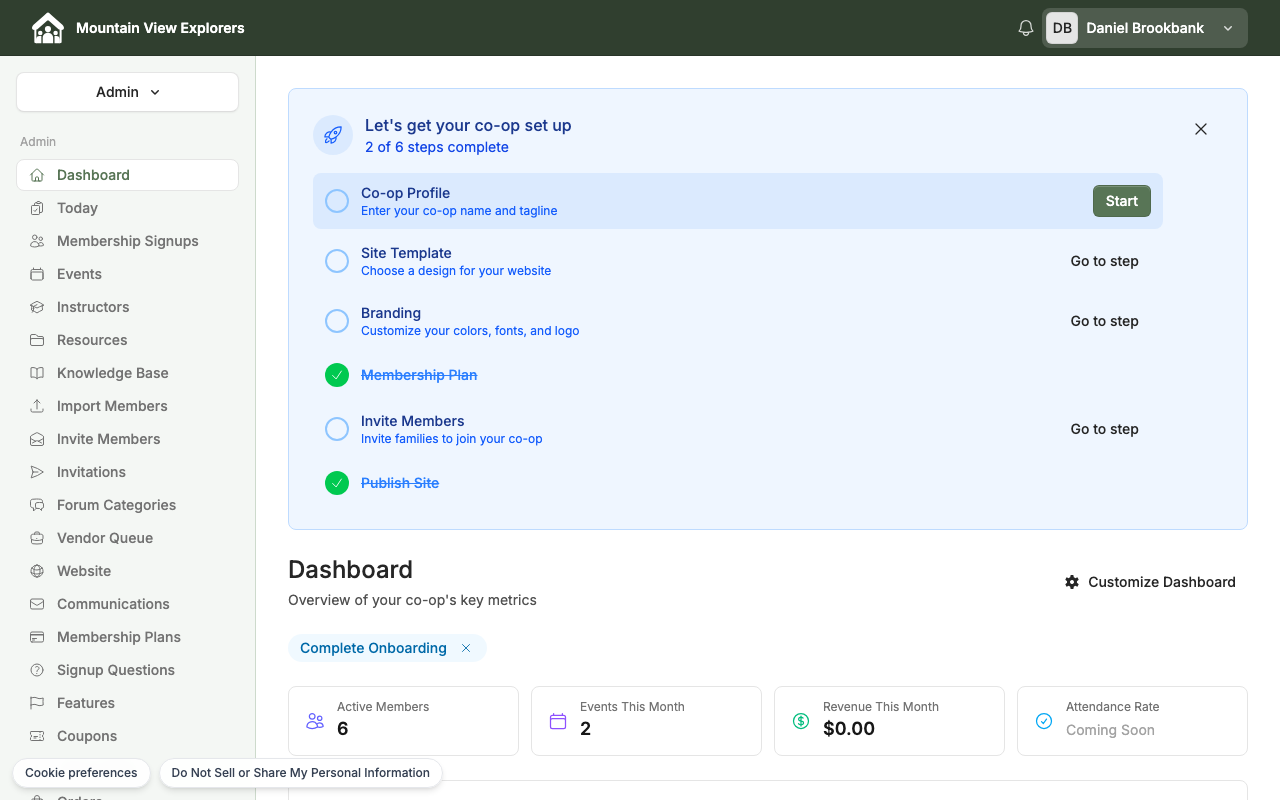
When you first log in, your dashboard shows a "Let's get your co-op set up" card. This is your setup checklist.
- Sign in to your admin panel at
yourcoopname.cooplyhq.com. - On the Dashboard, locate the setup checklist card.
- Click Start next to Co-op Profile.
- In the dialog that opens, enter your Co-op Name (required). This name appears on your website and throughout the admin panel.
- Optionally, enter a Tagline — a short phrase describing your co-op (for example, "Learning together, growing together").
- Click Next to save and continue with the setup wizard, or close the dialog to return to the dashboard.
Step 2: Navigate to Site Settings
Your website branding settings — logo, contact email, header display, and more — live in the Website section.
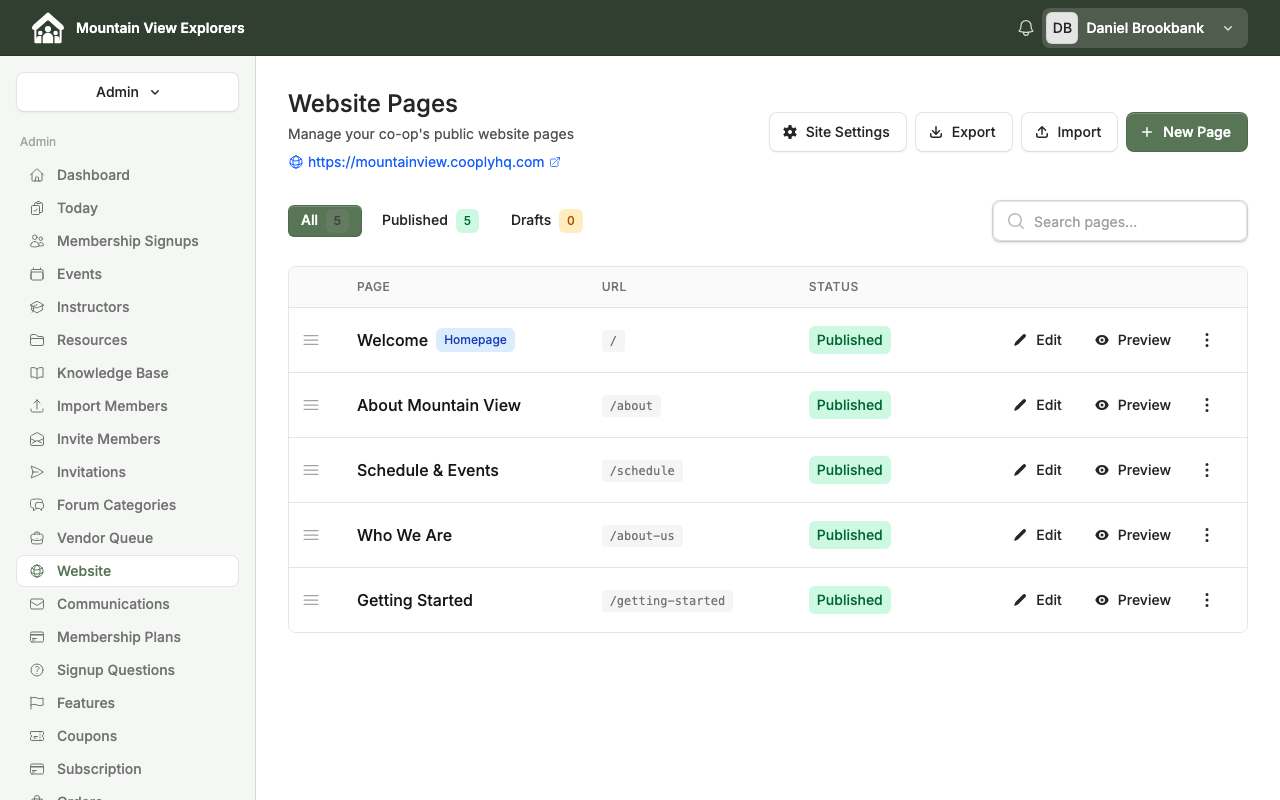
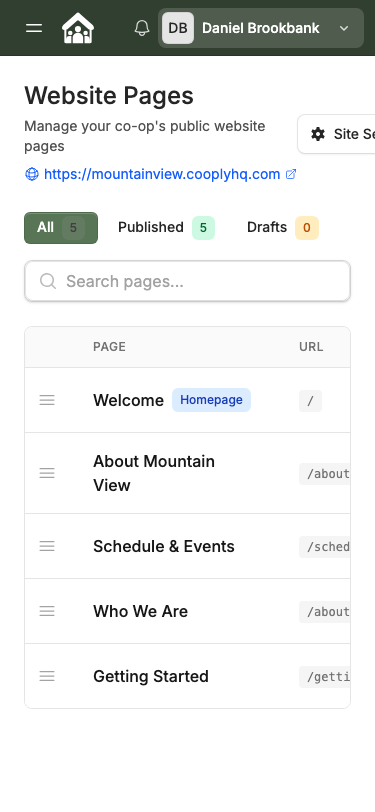
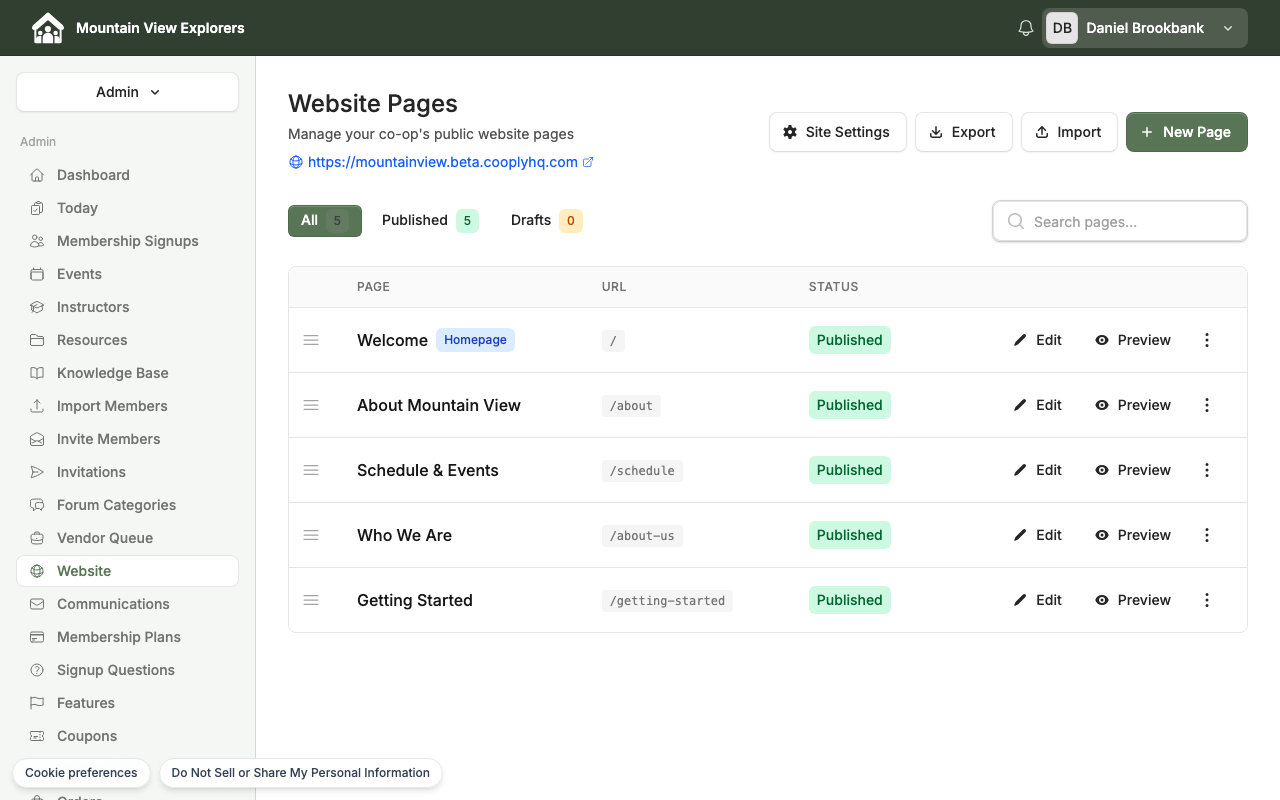
- On the Website Pages screen, click Site Settings in the top right corner.
The Site Settings page opens on the Branding tab.
Step 3: Configure branding settings
The Branding tab has four sections:
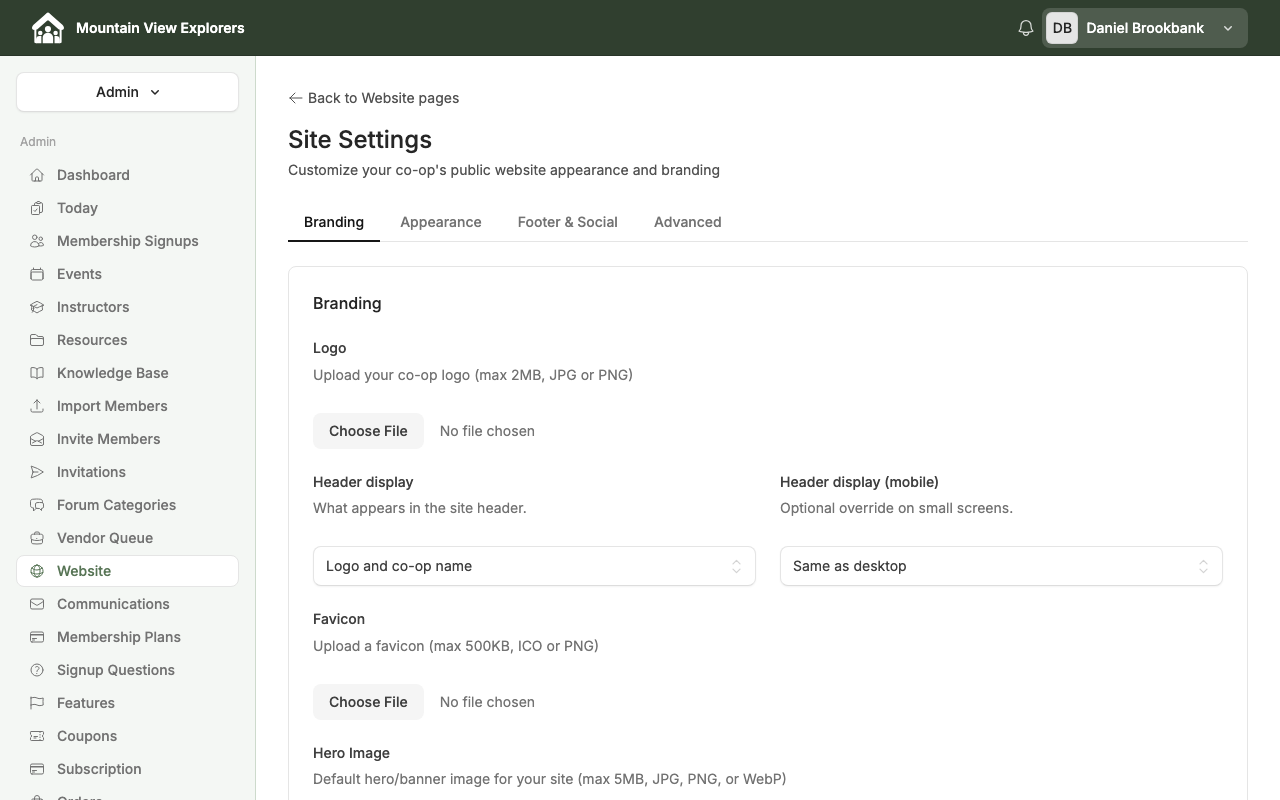
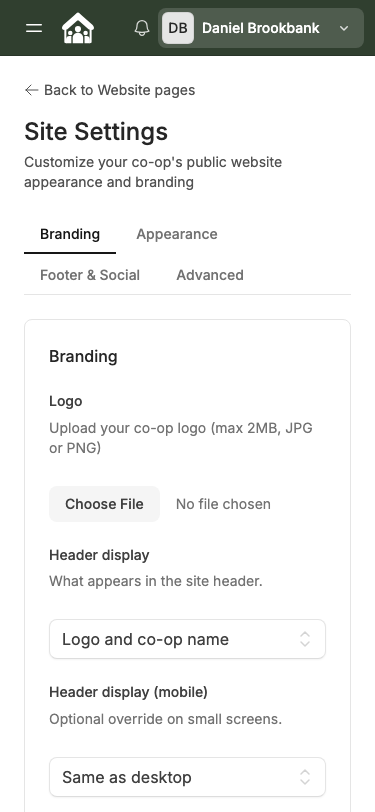
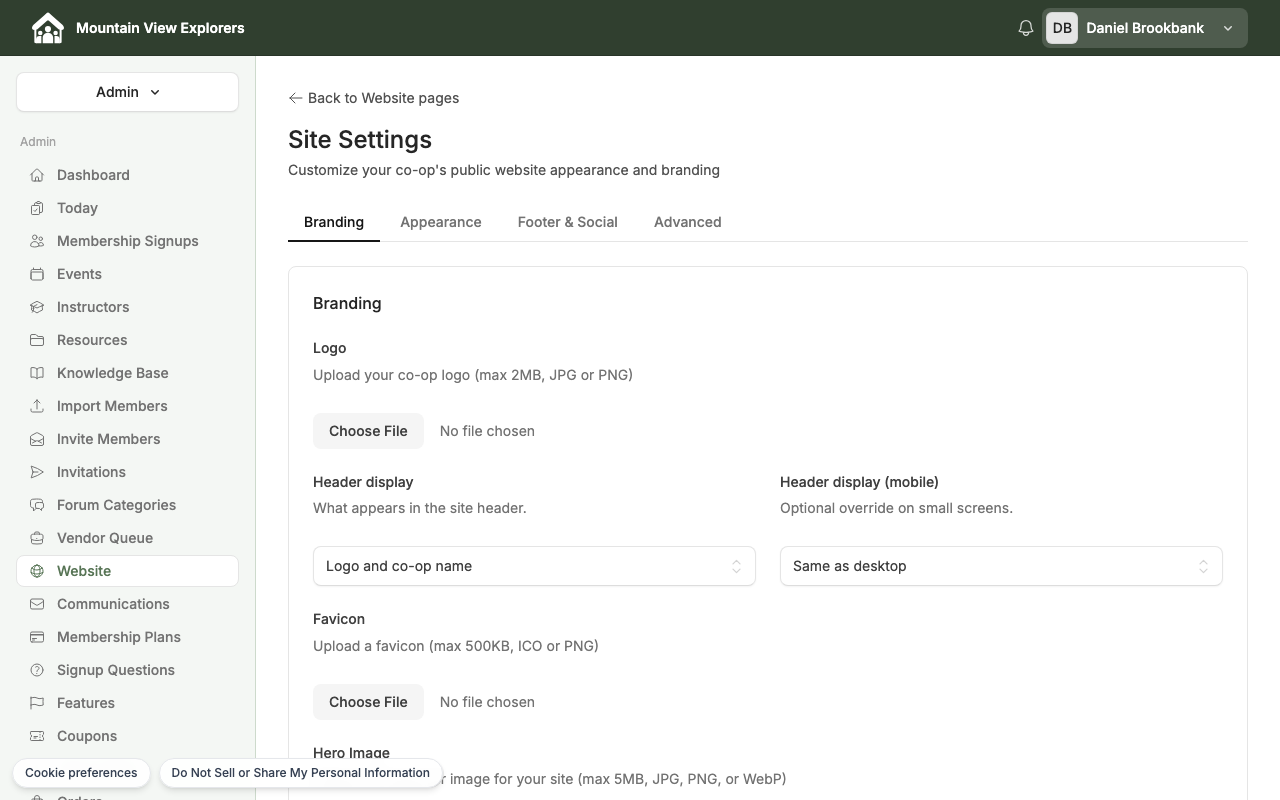
Logo
Upload your co-op's logo (max 2 MB, JPG or PNG). This image appears in your public website header.
Header display
Choose what appears in your website's header:
| Option | What visitors see |
|---|---|
| Logo and co-op name | Your logo image next to your co-op's name |
| Logo only | Your logo image, no text |
| Co-op name only | Your co-op's name in text, no logo |
You can also set a separate Header display (mobile) if you want a different layout on small screens. Leave it set to Same as desktop to use one setting for all devices.
Favicon
Upload a small browser-tab icon for your website (max 500 KB, ICO or PNG).
Hero Image
Upload a default banner image that appears at the top of your website's homepage (max 5 MB, JPG, PNG, or WebP).
Tagline and Contact Email
Scroll down past the image uploads to find two text fields:
- Tagline — A short description of your co-op, displayed on your public website. If you already entered a tagline in the setup wizard, it appears here pre-filled.
- Contact Email — A public contact email address shown on your website (for example,
info@yourcoopname.org).
Step 4: Configure signup settings
Still on the Branding tab, scroll to the Signup Settings section:
If you are not yet ready to accept new members, turn the toggle off.
Step 5: Save your settings
Click Save Settings at the bottom of the page. A confirmation message appears at the top of the screen confirming your changes were saved.
What's next
Now that your co-op's settings are configured, you're ready to invite families. See How to Invite Families and Manage Your Member Directory for next steps.